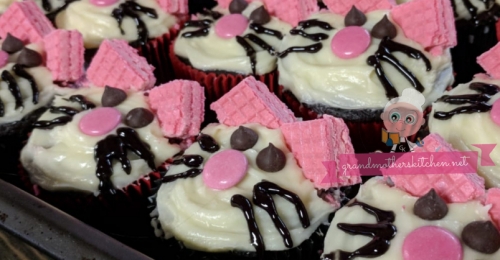
Homemade Whipped Cream
About this Recipe
If we could change one food habit, it would be to encouraging everyone to make their own whipping cream. In Grandmother's Kitchen we like to focus on the positive and avoid fear based reasoning for making changes in our lives and recipes. This is one recipe where we make a small exception. In this case it is not about spreading fear based reasoning, but is about educating ourselves in ways that make it easy to make healthier eating decisions. Cool Whip has 15 ingredients in it. Mostly synthetic and very artificial versus homemade whipped cream which has just 3 ingredients and is also easy and fun to make. When we browse the internet for dessert recipes, we are amazed how many recipes call for Cool Whip. We don't think that it is product placement or affiliate links, but simply a lack of education on 1) how synthetic Cool Whip is, and 2) how easy it is to make whipped cream at home.
Grandmother's TIPS for Homemade Whipped Cream Recipe:
1. Stabilized whipped cream will hold its consistency for at least a day which makes it a good choice if using it in combination in other dessert recipes that call for whipped cream (or cool whip).
2. Many recipes call for cool whip which we prefer not to ever use and this stabilized whipped cream offers you a healthier alternative.
3. Are you vegan or avoiding dairy? This Vegan Coconut Whipped Cream is a substitute if you do not want to use dairy products.
Ingredients
Makes: 2 cups whipped cream (stabilized)
2 cups heavy whipping cream
1/4 confectioners’ sugar (sifted)
1 teaspoon pure vanilla extract
Directions
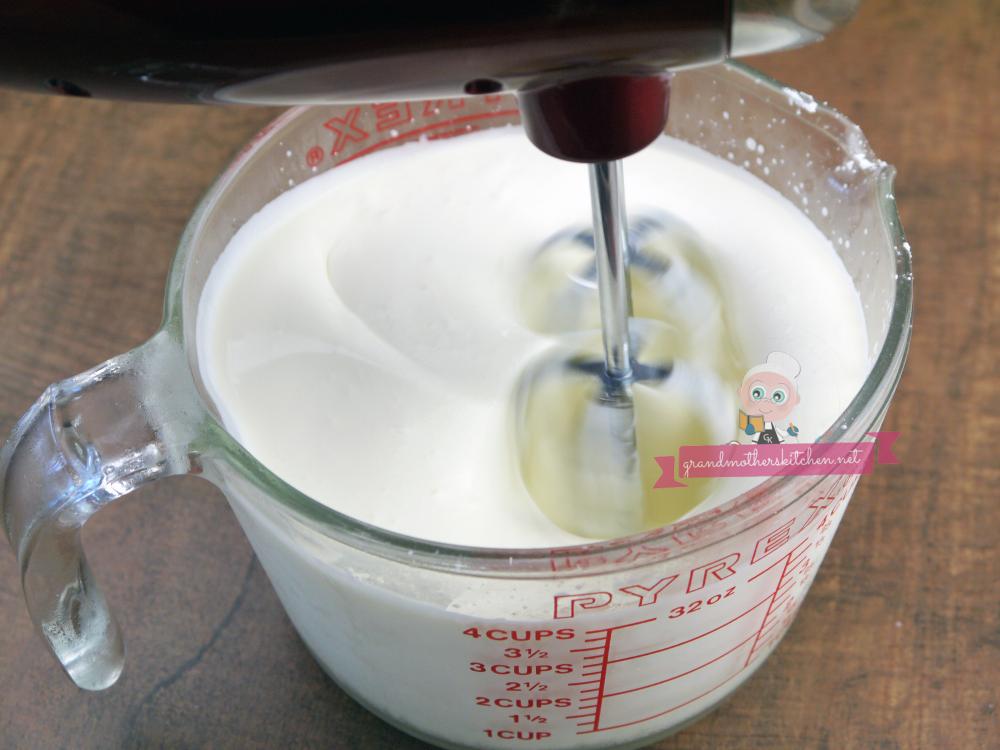
1. Put a glass or stainless steel bowl along with the beaters into the freezer for about 30 minutes to chill.
2. Once chilled remove from freezer and pour in the whipping cream.
3. Using the chilled beaters and whip for 2 minutes.
4. Add the confections’ sugar being sure to put through a sifter first. If you don’t have a special flour sifter, you can use a regular sieve and a large flat spoon and work the sugar though the sieve that way. You want to get all the lumps out.
5. Add the vanilla and whip in.
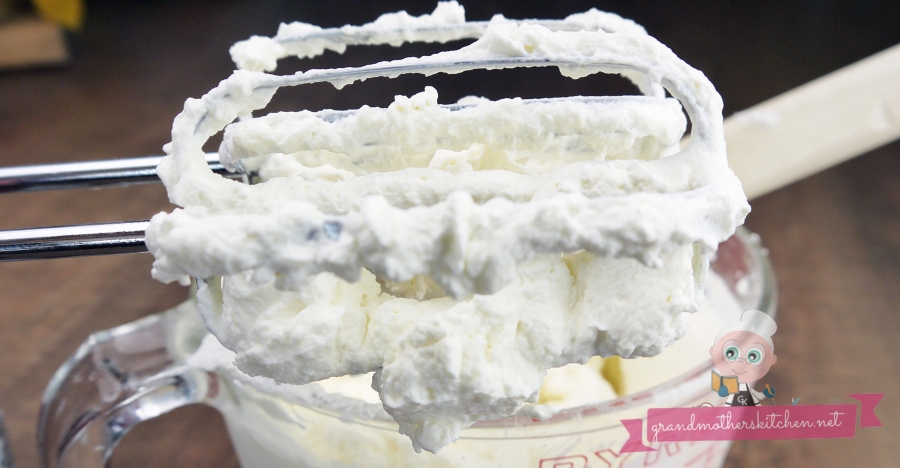
6. Keep whipping until the whipped cream forms stiff peaks. It will take a few minutes. Once they are stiff stop or you run the risk of over whipping and making too stiff.
ENJOY!
Return to this Homemade Whipped Cream recipe or check out more recipes at Grandmother's Kitchen
This homemade whip cream is so easy to make that you will wonder why you ever used store bought for your dessert recipes. With that said, you'll want to closely follow the directions, especially the part about putting your glass or stainless steel bowl and the beaters into the freezer for about 30 minutes to chill. This step is so important because its always better to start with chilled tools and dairy as the fat globules emulsify faster and will stay emulsified longer when cold.
The recipe calls for heavy whipping cream which you will have more than one choice at the grocery store. One thing to know when making homemade whip cream is that if you buy fresh cream or organic, the color of your real whipped cream won't be as bright white nor will the texture be as creamy and smooth. It doesn't make a huge difference but its noticeable.
Another important tip when making homemade whip cream is to not over whip the cream. You want to keep whipping the real whipped cream until it forms stiff peaks then stop. If you over whip the cream, it will result in a thick and dense whipped cream. The milk solids may also separate, and you'll know when it happens because you won't have a nice fluffy whipped cream. Be sure and pay close attention as to not over whip.
If you have a lot going on in the kitchen, you might also consider making homemade whip cream in advance. Make the whipped cream hours in advance; you can also under beat it so you can bring it back to life with the whisk just before serving.